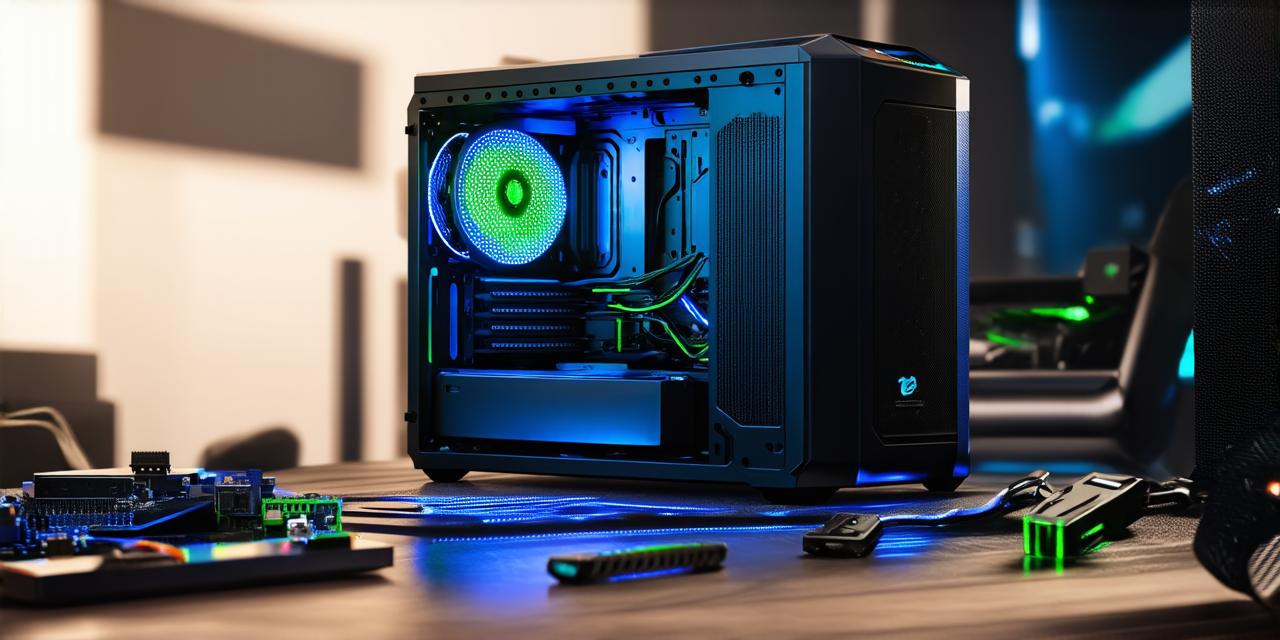
Building a gaming PC is not only cost-effective but also provides a unique sense of satisfaction in creating something from scratch. However, it can be daunting for beginners who lack knowledge and experience in this field. The following guide will take you through the process of building a gaming PC step by step, including choosing the right components, assembling them in your case, and troubleshooting any issues that may arise.
Choosing the Right Components:
To choose the right components for your gaming PC, you need to consider what you want to achieve with it. For instance, if you are just starting out or have a tight budget, you can opt for a lower-end build that will still run most games at decent settings. However, if you are looking for a high-end gaming rig that will run the latest games at the highest settings, then you will need more powerful hardware.
When choosing components, it is important to consider the following factors:
- CPU (Central Processing Unit): The CPU is the brain of the computer and determines how fast it can perform tasks. For gaming, a quad-core Intel Core i5 or AMD Ryzen 5 processor should suffice. However, for high-end games, an Intel Core i7 or AMD Ryzen 7 processor would be more suitable.
- RAM (Random Access Memory): RAM is responsible for storing data that the CPU needs to access quickly. For gaming, at least 8GB of RAM is recommended, but if you can afford it, 16GB is even better.
- Storage: You will need storage space for your games and other files. A solid-state drive (SSD) is faster than a hard disk drive (HDD) and is recommended for gaming. An SSD with at least 512GB of storage should be sufficient, but if you can afford it, a larger capacity drive will provide more space for your games and other files.
- GPU (Graphics Processing Unit): The GPU is responsible for rendering graphics and is essential for gaming. For high-end games, an NVIDIA GTX or AMD Radeon RX series GPU is recommended. However, if you are just starting out, a budget-friendly GPU like the NVIDIA GT 1080 Ti or AMD Radeon RX 5700 XT should suffice.
- Power Supply: A power supply with a wattage of at least 500W should be sufficient for most gaming builds. However, if you are going for a high-end build with powerful components, a power supply with a higher wattage, such as 600W or more, will be necessary to ensure stability and prevent damage to your components.

Assembling the Components:
Once you have chosen your components, it’s time to assemble them in your case. Here are the steps to follow:
- Install the CPU into the socket on the motherboard. Make sure you align the CPU with the correct pins and gently push it down until it clicks securely into place.
- Attach the RAM modules to the appropriate slots on the motherboard. Press firmly on each module until it clicks securely into place, ensuring that you are aligning the notches correctly.
- Install the storage drive(s) into the designated bays in the case. Connect the SSD or HDD to the motherboard using the appropriate cables, making sure you are properly connecting the power and data connections.
- Install the power supply unit (PSU) into the case and connect it to the motherboard, CPU, and other components. Make sure you are properly connecting all the cables, including the 20+4 pin ATX cable, 8-pin EPS cable, 4+2 pin PCIe cable, and any other necessary cables for your components.
- Install the GPU into the designated slot in the case and connect it to the PSU and motherboard using the appropriate cables. Make sure you are properly connecting all the power and data connections.
- Connect any additional cables, such as SATA or USB cables, as needed.
- Power on the system and boot up your computer. Press the power button on your case to turn it on and wait for your computer to start up.
Troubleshooting:
When building a gaming PC, there are a few common problems that can arise. Here are some troubleshooting tips to help you get back up and running:
- If your computer won’t turn on, check that all the cables are connected properly and that there is no loose hardware in the case.
